- Help Center
- Account Settings
- Security
Security
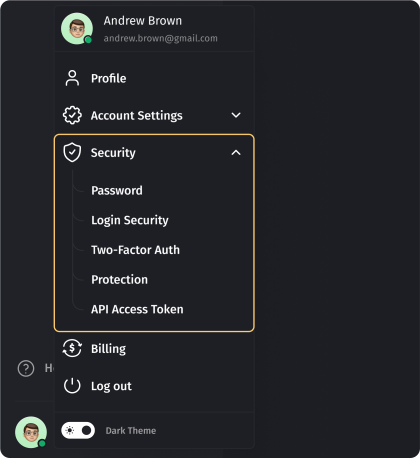
While navigating to the Profile Menu, the security Section provides you with the main pages regarding your password, login, two-factor auth, protection and API Access Token.
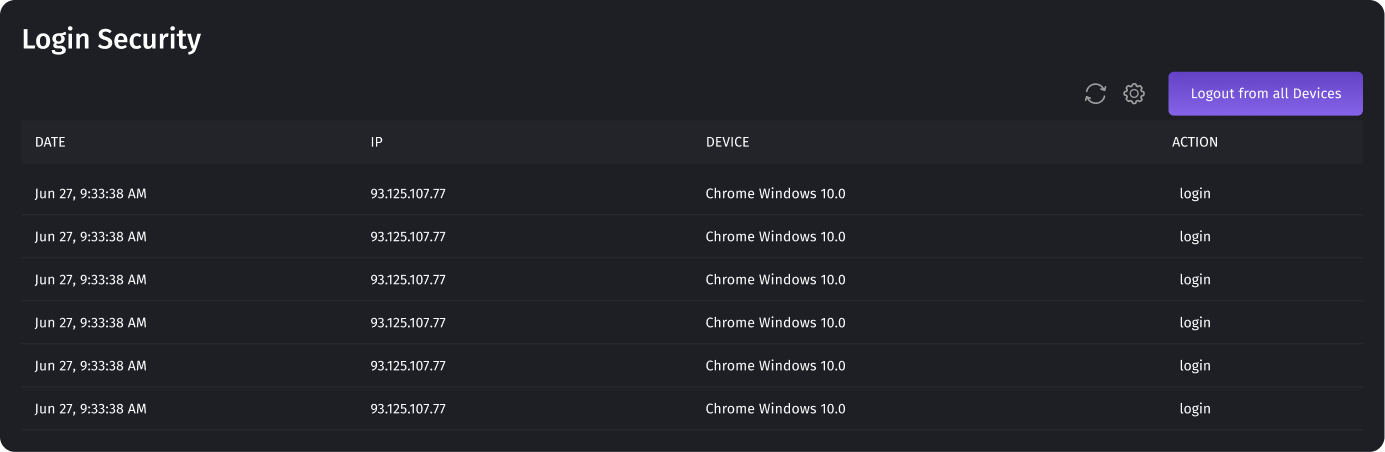
Login Security
This section displays all sessions, both current and completed. You can see from which devices and when you were logged in. This level of granularity allows you to track and verify the legitimacy of each session, enhancing your ability to maintain the security and integrity of your account. You can promptly terminate all active sessions by utilizing the "Log out of all devices" button, thereby ensuring that your account remains secure and under your control. All sessions will be terminated at the same time. This means that a logout will be performed on all devices, and users will have to log in again. This is usually used when
unauthorized access is suspected. You should change the password in your account before you log out from all devices.
Password Change
To change the password, you will need to enter your old password. If you forgot your old password, you can restore it by clicking on the link “Forgot your password?”. A link with further instructions will be sent to your email.
Two-Factor Authentification
Two-factor authentication (2FA) guarantees double protection of your digital account. It is a simple yet effective way to bolster your digital security and safeguard your online identity and assets. To successfully set up 2FA on your account, you need to have an authentication application, like “Google Authenticator” or any other you may find. Please note that different applications may have their own unique settings, but the main setup flow is the same.
Setting up the Google Authenticator application on your device
To start, download the app to your smartphone or tablet. Google Authenticator is available for iOS and Android. Open the app and tap on the Get Started button. You will have the option to either log in with your Google account or use the app without logging in. If you do log in, Google Authenticator will save your 2FA data for you. Then you need to scan a QR code using the camera on your smartphone. Tap the plus sign in the bottom-right corner of the app and then Scan a QR code. Scan the barcode with your smartphone and an expiring code will pop up in the app and keep regenerating. Acknowledge that older devices may require a special login process for 2FA codes and finish the setup process. As soon as you set up
the application you can proceed with 2FA in Dialics by following the next steps:
- Switch the “Enable 2FA” setting to active on your Account → Security →Two-Factor-Auth page.
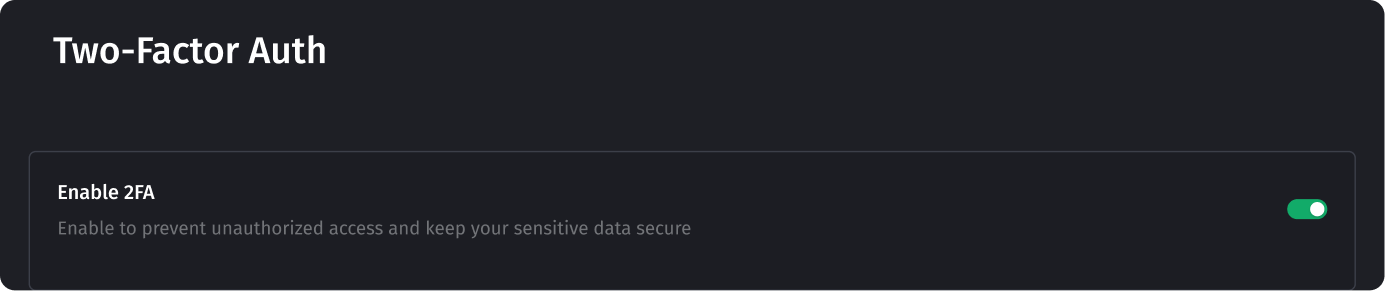
- Select the method “Authenticator App”.

- In newly opened fields below you can see the QR code to be scanned by yourAuthenticator app.
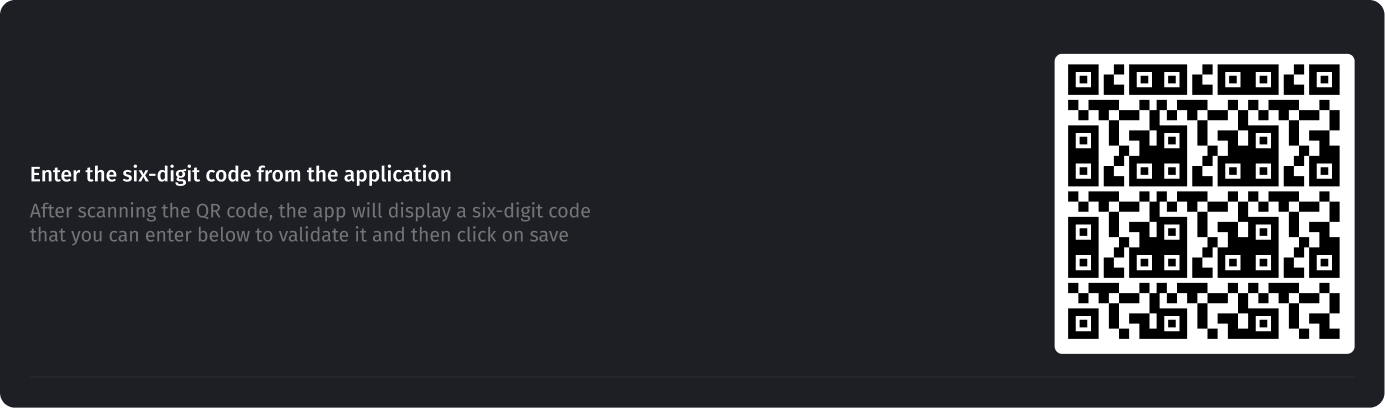
- After scanning the QR code, the app will display a six-digit code that youcan enter below to validate it and then click on the Enable button.
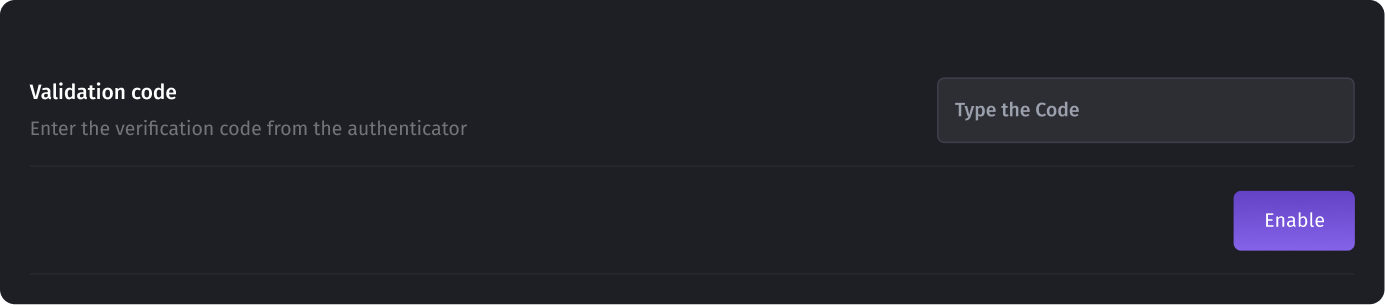
Now you have your account protected!
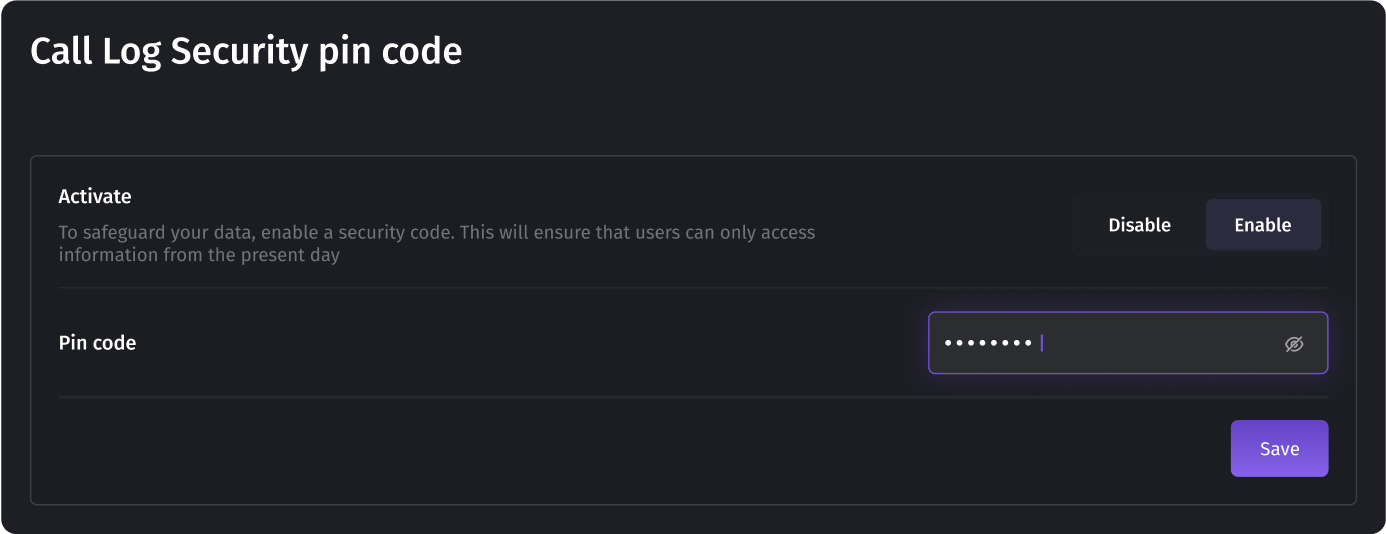
Protection
Enabling a personal identification number (PIN) code adds an extra layer of security. Once activated, this feature requires the entry of a unique PIN code if someone needs to check the reporting for the previous days.
API Access Tokens
Access tokens allow users to interact with the system's API, enabling them to retrieve account information, create, delete, and modify system entities, and build custom applications using the system's functionality. To ensure a smooth experience, please carefully examine the following information
Rate Limiting
All interactions with the system are subject to rate limiting. This means that you can make a maximum of 60 requests per minute, depending on the server load.
It is essential to be mindful of this limit to avoid any disruption in your API access.
Creating an Access Token
To create an access token, follow these steps:
- Navigate to the designated page for generating access tokens in your Dialicsaccount.

- Enter a unique name for your token. Choose a name that is easy to rememberand relevant to the purpose of the token.
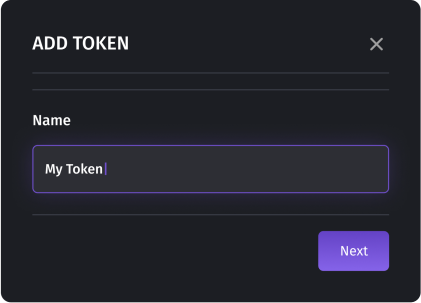
- Next, confirm your authorization by entering your login credentials(username and password) for the Dialics system.

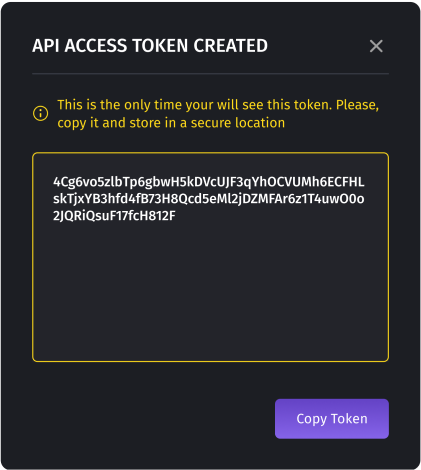
- Once the authorization is verified, the access token will be generated. Awindow will appear displaying your access token. This will be the onlyopportunity for you to view the token, so it is crucial to copy and securelystore it.
Important Note: Token Security
Your access token is a valuable asset that grants access to your Dialics account and its functionalities. Treat it as you would treat your password. To ensure the security of your account and data, please adhere to the following guidelines:
- Copy and Store: Immediately after generating the token, copy it and store it in a secure location. This will prevent any accidentalloss or unauthorized access.
- Avoid Sharing: Do not share your access token with anyone. Treat it as confidential information known only to you.
- Token Revocation: If you suspect that your access token has been compromised or if you lose access to it, promptly delete the token from your account and generate a new one. This will prevent any unauthorizedaccess to your account.
By following these guidelines, you can maintain the security and integrity of your Dialics account while utilizing the power of API access tokens. If you have any further questions or require assistance, our support team can help you.
Was this article helpful?