- Help Center
- Using Dialics
- How to Set Up and Manage Destinations Effectively
How to Set Up and Manage Destinations Effectively
Destinations are the endpoints where incoming calls are routed in a call-tracking campaign. They can include phone numbers or SIP addresses and may be assigned to specific buyers, allowing them to access reports and call logs. Destinations are an essential component of your call tracking setup, as they determine where your calls are directed and how they are managed.
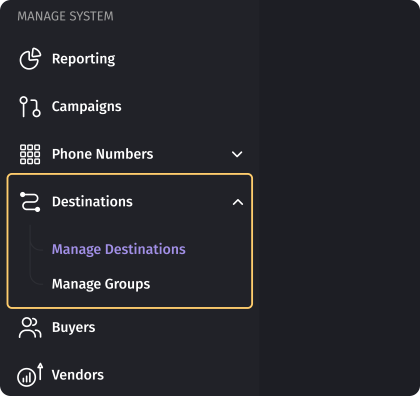
Set up Destinations
To set up and manage destinations effectively, follow these steps:
- Create a new destination, ensuring that you include all relevant information, such as the destination name, phone number or SIP address.

Once the Destination is created, you are redirected to edit your Destination which includes adjusting several blocks like Cap, CC, Buyer, and Business Hours.

If you add buyers to your account, they can manage the settings for the destinations themselves.

Destination Types
There are two types of endpoints.
- The first type is a regular phone number. It can be any number, either your personal one or that of your call center.

In case the Number is the endpoint, put the phone number in the format (NPA) NXX-XXXX, NPA-NXX-XXXX, or 1-NPA-NXX-XXXX, where 'NPA' is the area code, 'NXX' is the central office code, and 'XXXX' is the subscriber number personal to each phone in the destination field. Setting the Ring Duration is described further.
- The second type of endpoint is the SIP address of your phone system. The SIP address may be typed in either of the two formats: 12345789@domain.com or 123456789@198.165.1.2. Indicating the SIP address is required if you have your own phone system, such as Asterisk.
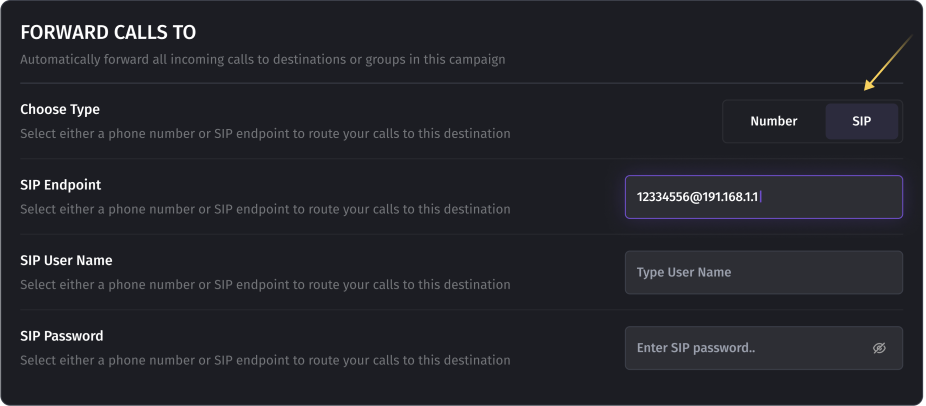
If the SIP endpoint is selected, specify the IP address format: 12334556@191.168.1.1 or 12345789@domain.com. Choose the User Name, which will serve as your Login for authorization and a Password.
Ring Duration
The Ring Duration option determines the time allowed for dialing to the endpoint. The system will attempt to call the destination for the specified duration, after which the call will be dropped, and the system will continue attempting to call according to the settings.
To ensure optimal call handling, the Ring Duration is adjusted with a default setting of 25 seconds. The minimum duration is 10 seconds. Setting a lower value may result in issues where agents are not given enough time to pick up the call. Additionally, it is important to consider network delays from the provider and the possibility of non-connection if the call is routed to a destination with an extremely low value.
Setting up a high value for the ringing timeout, like 60 seconds or more, may potentially prevent the system from switching to the next available destination, and the Not Connected issue may occur as a result. Therefore, a 25-second ring duration is the optimal time period to avoid any issues.

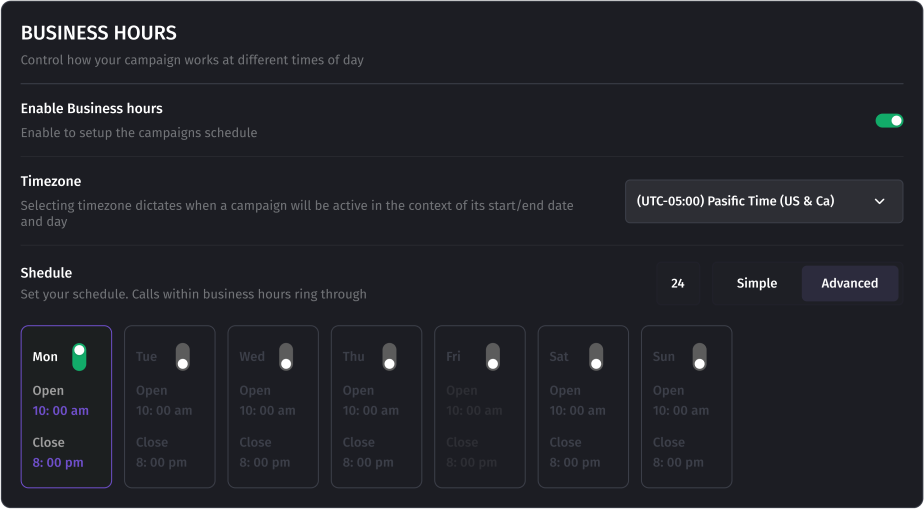
Business Hours
You can customize the destination's business hours schedule. The system will recognize the business hours of the destination and route calls to it only during available hours. It is important to remember that the business hours set for your destinations depend on the time zone selected in this section. For instance, the selected Pacific Time timezone will dictate when a campaign will be active in the context of its start/end date and time, Mon-Sun, 9 a.m.-8 p.m.
You can also choose the display mode for the schedule: Simple or Advanced. In the advanced mode, you can set both a common schedule for all days and specific schedules for each day individually.
Limit Settings for Incoming Calls
You can configure a limit on the number of calls directed to the destination. This allows you to allocate calls to your buyers according to the set budget. You can specify values in both quantitative and monetary formats.
Cap ON - selects the option according to which the call should be counted in the meter.
- Conversion: counters switch on only if the call has converted status.
- Connection: counters ****increase ****when the call was connected to this destination. This occurs irrespective of the call duration; even a call lasting just 1 second will increment the counter.
- Revenue: limit is set on the budget allocated to this destination. For example, the cost of a call connected to this destination is $15, and we set $450 per day, which means 30 calls can be handled per day.

In addition, you can set global, monthly, daily, or hourly caps to maintain a balanced distribution of calls and prevent overloading a specific destination.
- Global Cap: This limitation takes the highest priority. Once it is reached, the destination will cease to accept calls indefinitely until the limit is reset or disabled.
- Monthly Cap: Monthly limit, reset every month.
- Daily Cap: Daily limit, reset every day.
- Hourly Cap: The hourly limit is reset every hour.
Once any of the limitations is reached, our system will stop directing calls to that destination.This will continue until the limit is reset, either automatically (for example, with the start of a new day) or manually.
To reset all counters, you need to press the "Reset Caps" button. This action will result in a complete reset of all counters(calls), including hourly, daily, monthly, and global counters, setting all values to zero.

Configuring Simultaneous Call Connections
Max Сoncurrency sets the number of simultaneously connected calls. In other words, the number of free agents that can receive calls coming to this destination; for example, in a call center with a certain number of agents.
However, if you don't set the limits, our system will continue to send calls to this destination, even if no one on the other end will be able to receive those calls. This may lead to missed calls. That's why we strongly recommend always setting the limit. If you have just one agent, set the limit to 1.

Was this article helpful?