Post Destinations
Updated 22 months ago
Configuring the Post Feature in Dialics
The Post feature is available only for Ping Destinations and is designed for sending full lead data to the buyer after the Ping stage has been successfully completed. This feature allows for the transmission of expanded client data so the buyer can better prepare for the interaction. The Post feature can be active or passive and is configured by choosing a trigger that will send the data.
Importance of the Post Stage
The Post stage is essential because it sends the full lead information to the winning buyer. Unlike the Ping stage, where minimal data is shared to gauge buyer interest, the Post stage transmits comprehensive data, including contact and additional client parameters. This helps the buyer better prepare for the interaction and increases the opportunities for personalized offers.
Example of How the Post Stage Works
Imagine an insurance company receiving calls from clients who fill out a form on their website, providing their name, age, type of insurance, and other details. During the Ping stage, Dialics sends minimal data to potential buyers for evaluation, such as Caller ID and location. Once a buyer makes the highest bid and wins the auction, full lead information is sent during the Post stage:
- Client's first and last name
- Age
- Requested service type
- City or region
Example POST Request:
POST https://api.insurancebuyer.com/lead-details
BODY:
{
 "first_name": "[first_name]",
 "last_name": "[last_name]",
 "phone_number": "[phone]",
 "insurance_type": "[insurance_type]",
 "age": "[age]",
 "city": "[city]"
}
Why the Post Stage is Important for Buyers
The Post stage allows buyers to have a complete understanding of the lead before starting the call. This enables them to prepare and offer personalized services or products, increasing the likelihood of a successful interaction and conversion. With complete data, the buyer can tailor their approach and quickly address the client's needs, enhancing the customer experience and improving conversion rates.
Configuring the Post Feature
1. Accessing the Setup:
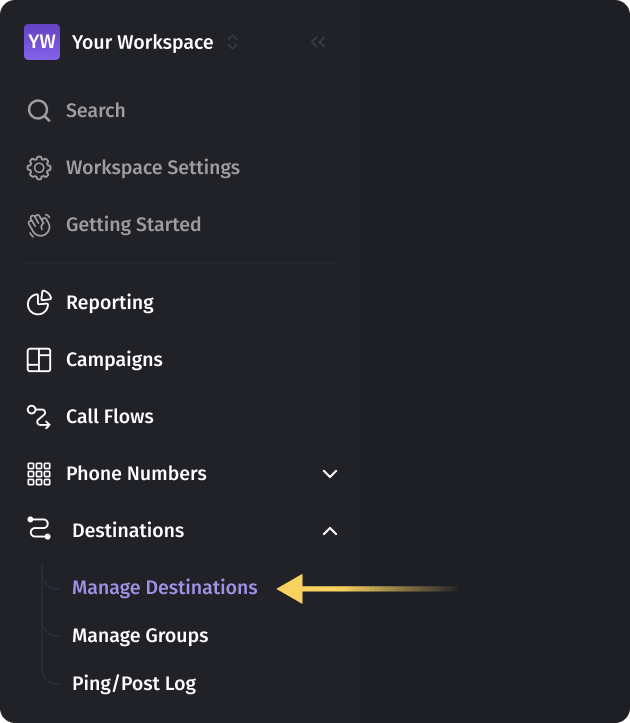
- Go to the Destinations section in the sidebar and select Manage Destinations.
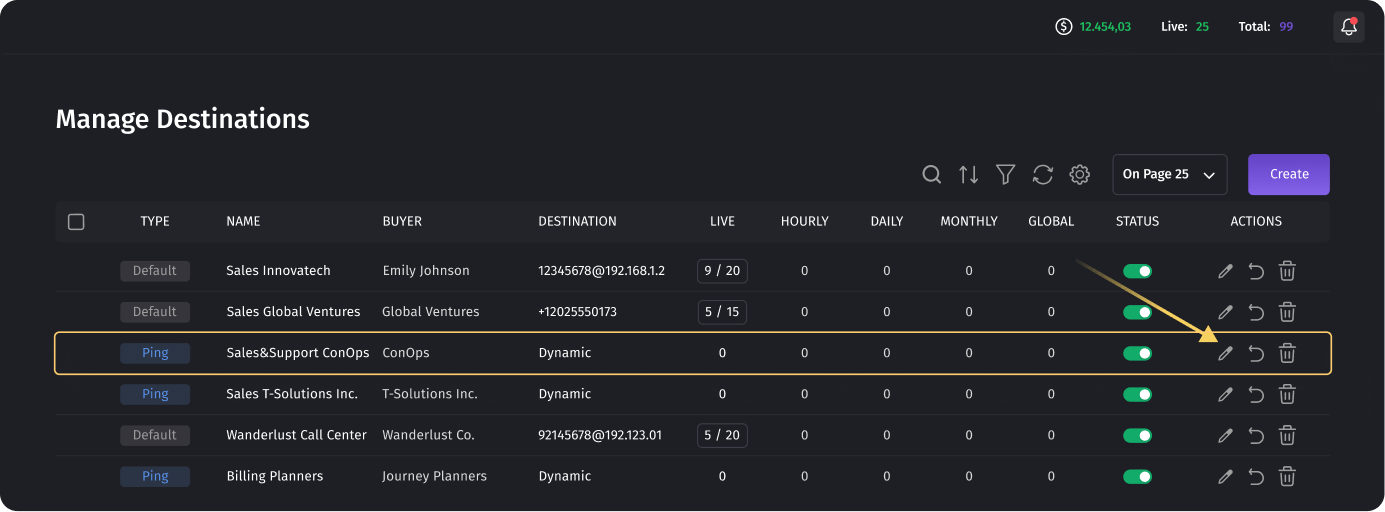
- Choose and click on an existing Ping Destination. The Ping tab will open by default in edit mode.
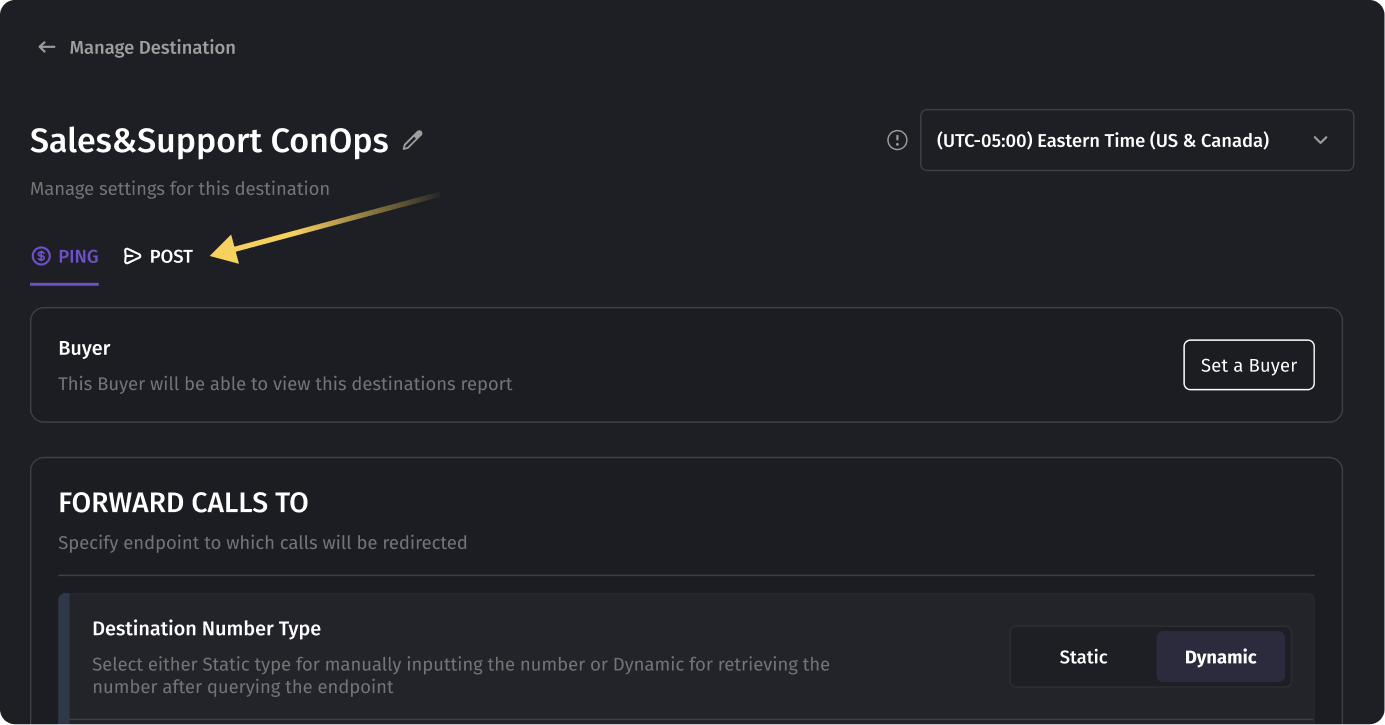
- Click the Post tab to open the edit mode for configuring this feature.
2. Enabling the Post Feature:
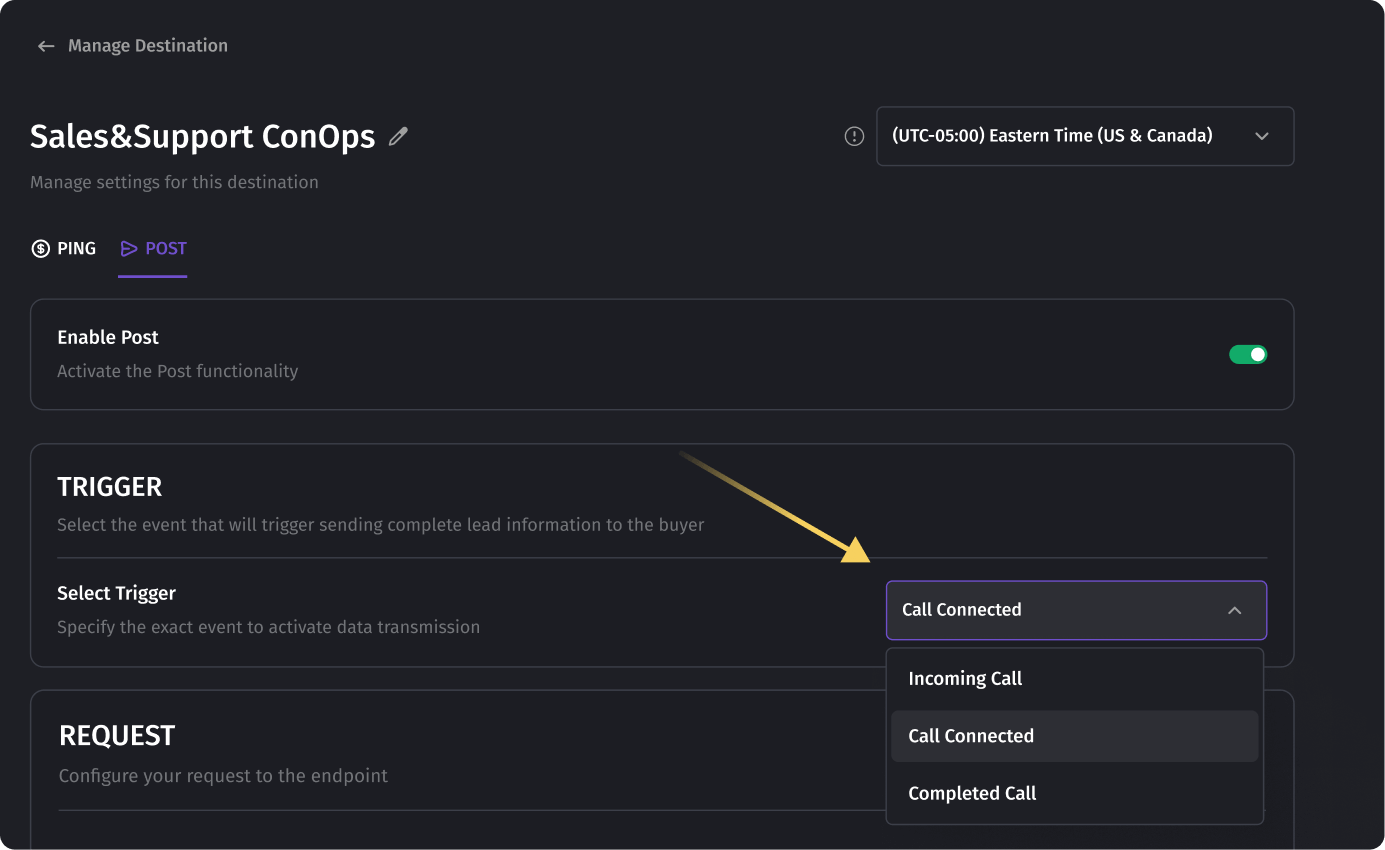
- Toggle the switch from passive to active to enable the Post feature.
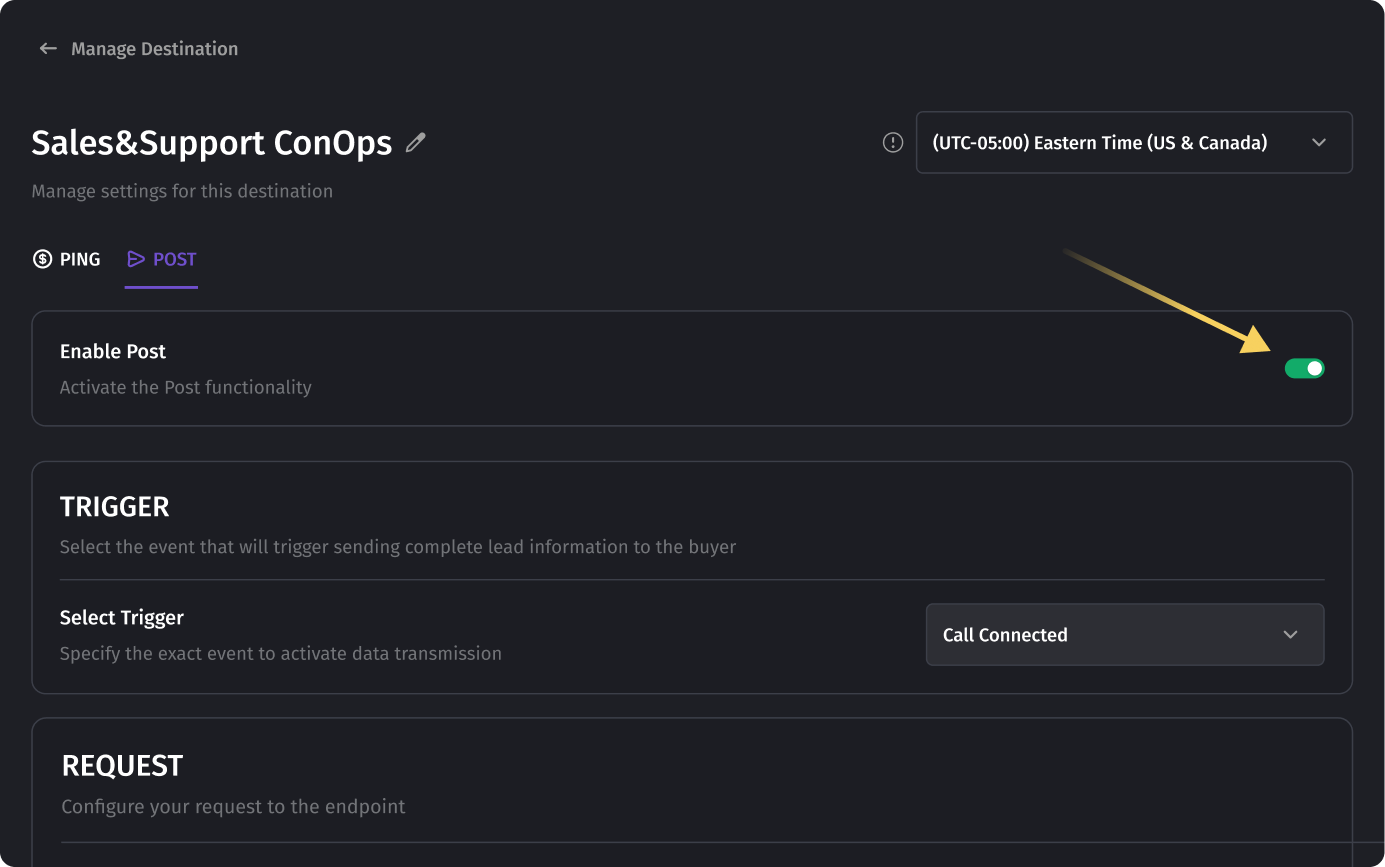
- Select one of the available triggers: Call Connected, Incoming Call, or Completed Call. Only one trigger can be selected at a time.
Configuring the Request for the Post Feature
1. Request Configuration:
- Specify key-value pairs in one of the following sections:
- Query Parameters
- Headers
- Body (for the POST method)
2. Setting the Method and URL:
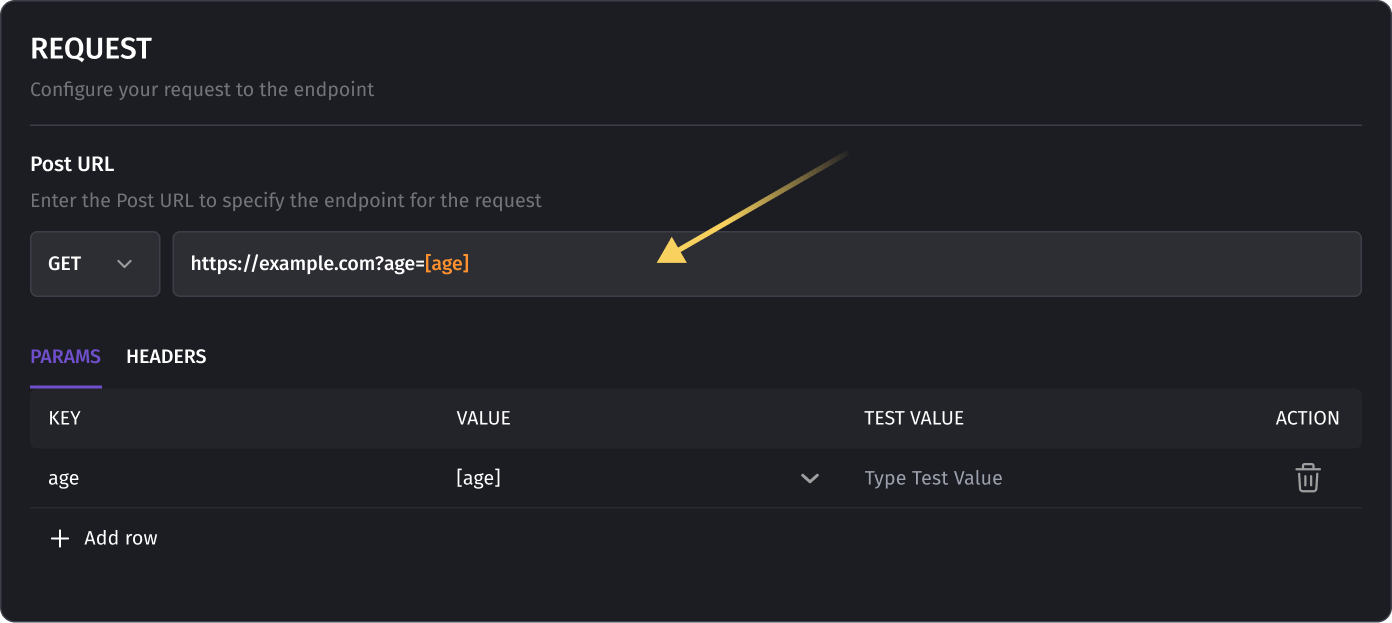
- The default request method is GET, but POST is more commonly used for the Post feature.
- Click the dropdown next to the URL input and select POST.
- Enter the buyer's API URL in the URL field.
3. Adding Parameters:
- Parameters can be static or dynamic. Dynamic values are selected from available campaign data such as call parameters, caller information, and custom parameters (e.g.,
{{first_name}},{{email}}).
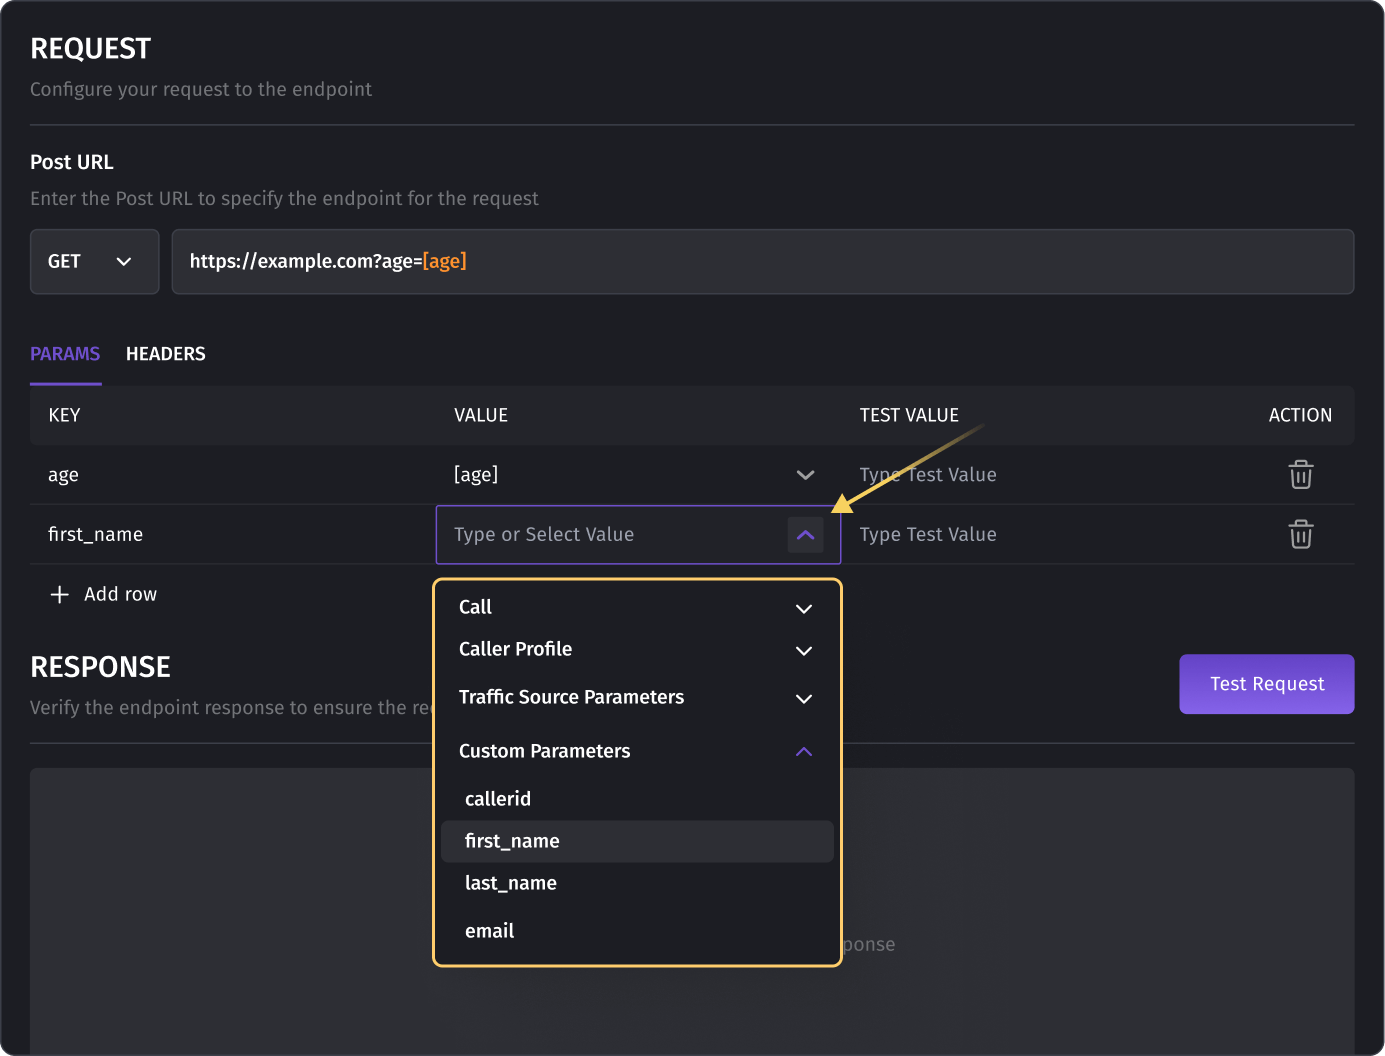
- For the POST method, specify parameters in the BODY section and provide a TEST VALUE to verify the accuracy of the data being transmitted.
Testing the Request
1. Executing a Test Request:
- Click Test Request to send a test request to the specified URL.
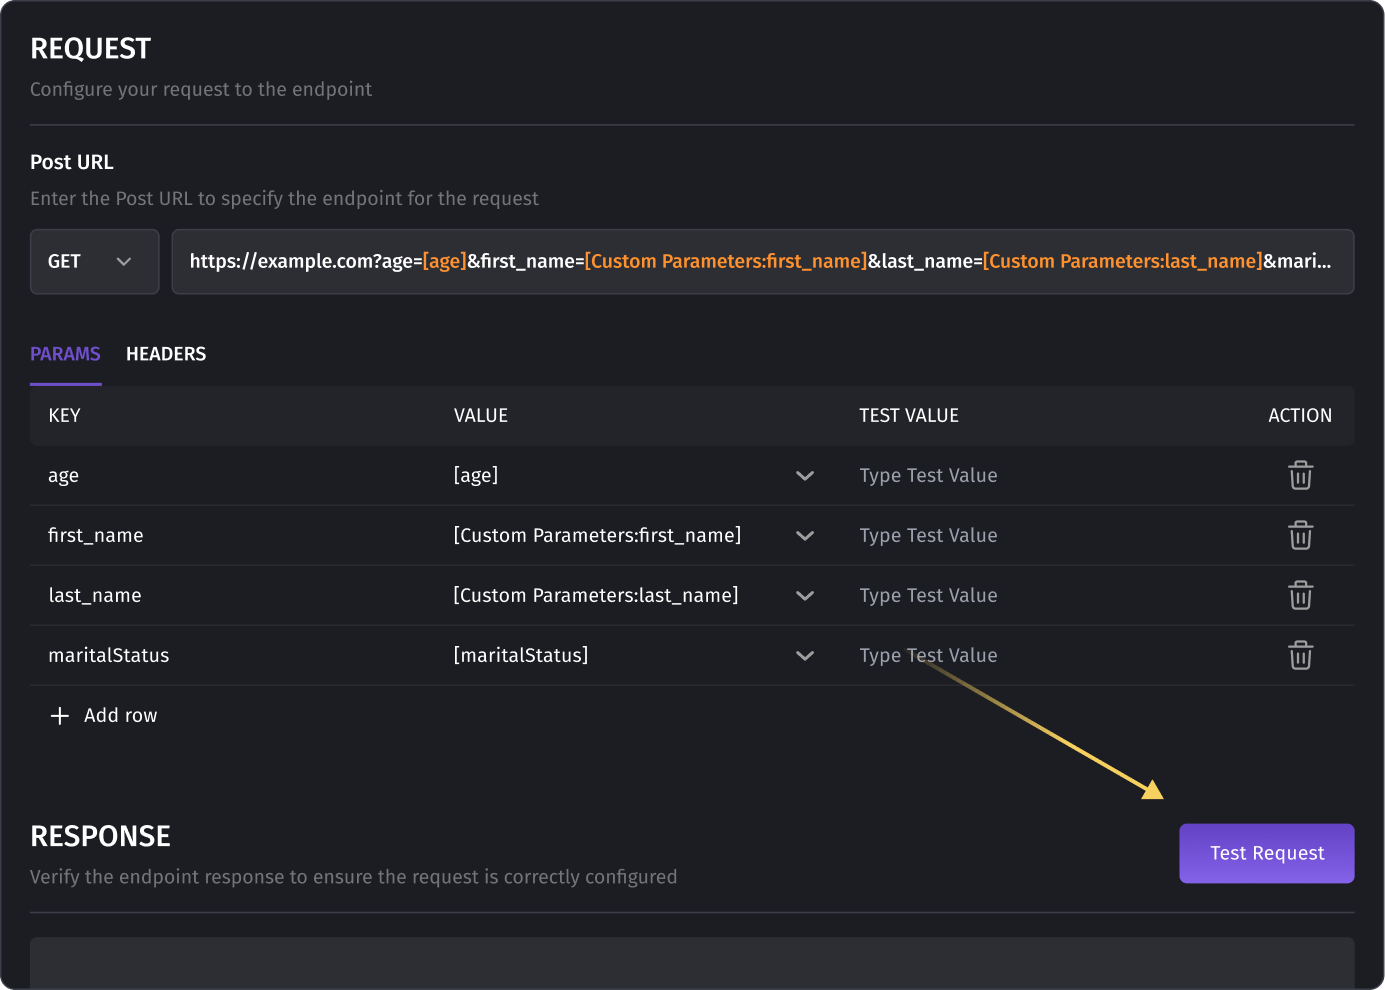
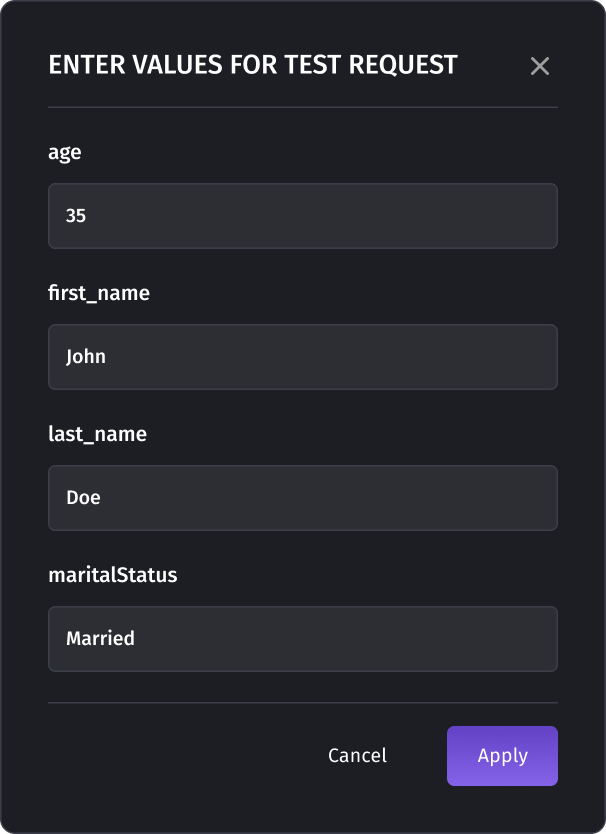
- If a TEST VALUE is not provided, a prompt will appear asking you to enter a value. Enter the value and click Apply.
- The system will send the request and display the response in the RESPONSE table.
2. Analyzing the Response:
- The RESPONSE section will show the status code (e.g., 200 for a successful request), headers, and body of the response. This helps verify that the request was executed correctly and checks the data returned from the server.

Was this article helpful?